Create StackBooster-managed cluster on AWS #
This guide will walk you through creating your first cluster using our AI DevOps agent copilot platform.
Getting Started #
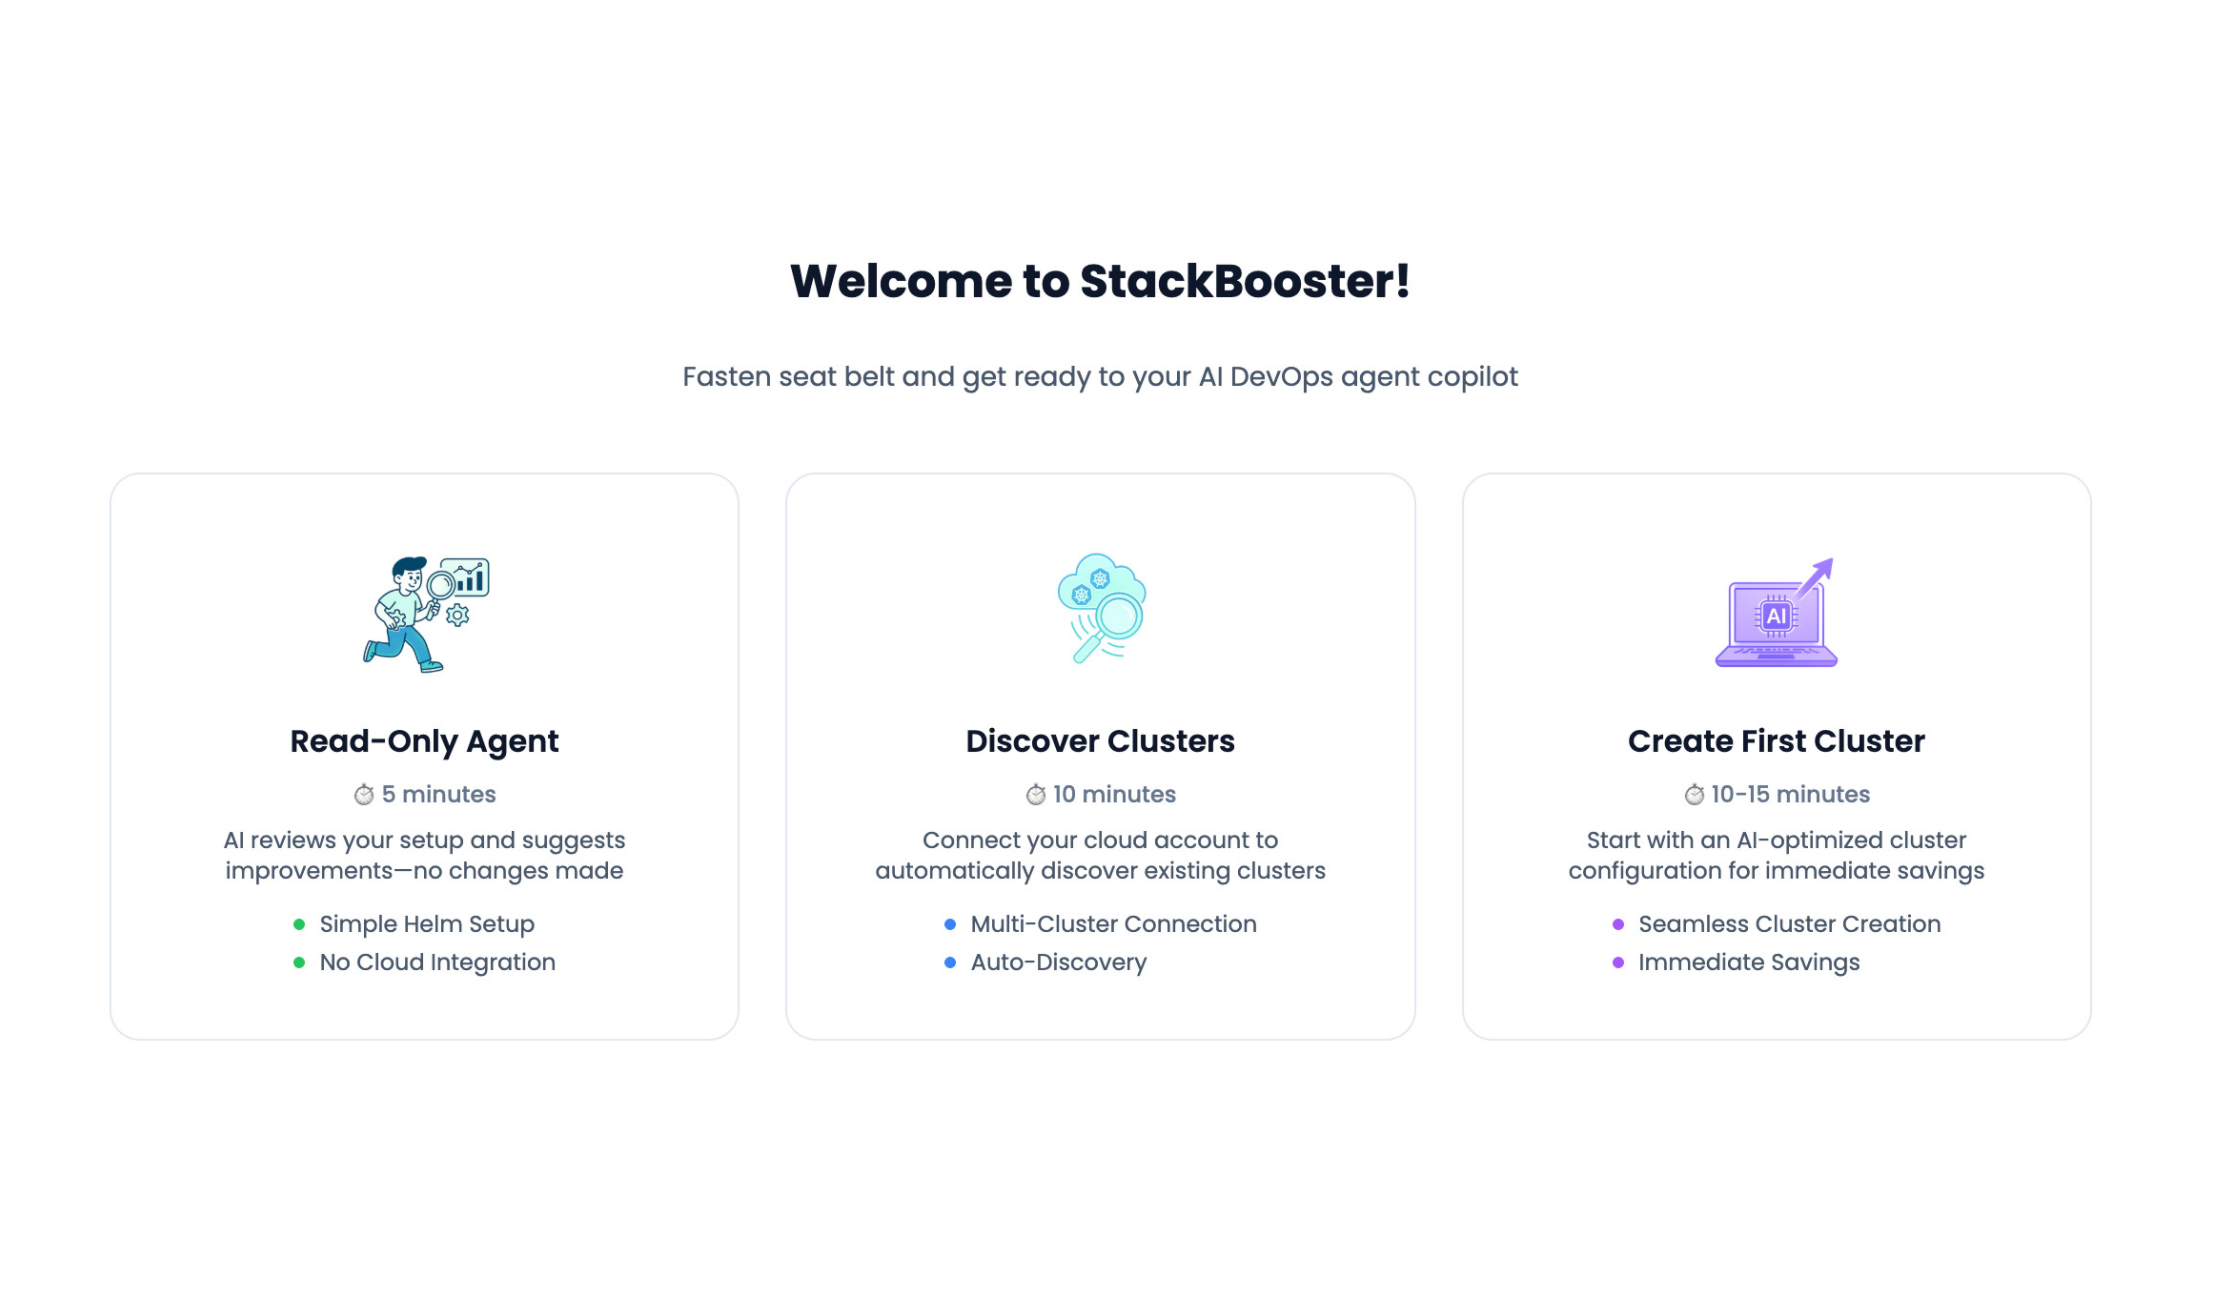
When you first access StackBooster, you’ll be presented with three main options:
- Read-Only Agent (5 minutes) - AI reviews your setup and suggests improvements with no changes made
- Discover Clusters (10 minutes) - Connect your cloud account to automatically discover existing clusters
- Create First Cluster (10-15 minutes) - Start with an AI-optimized cluster configuration for immediate savings
This guide focuses on the Create First Cluster option, which provides seamless cluster creation and immediate cost savings.
Step 1: Add Your Cloud Account #
The first step in creating a cluster is adding your cloud account to StackBooster.
Account Configuration #
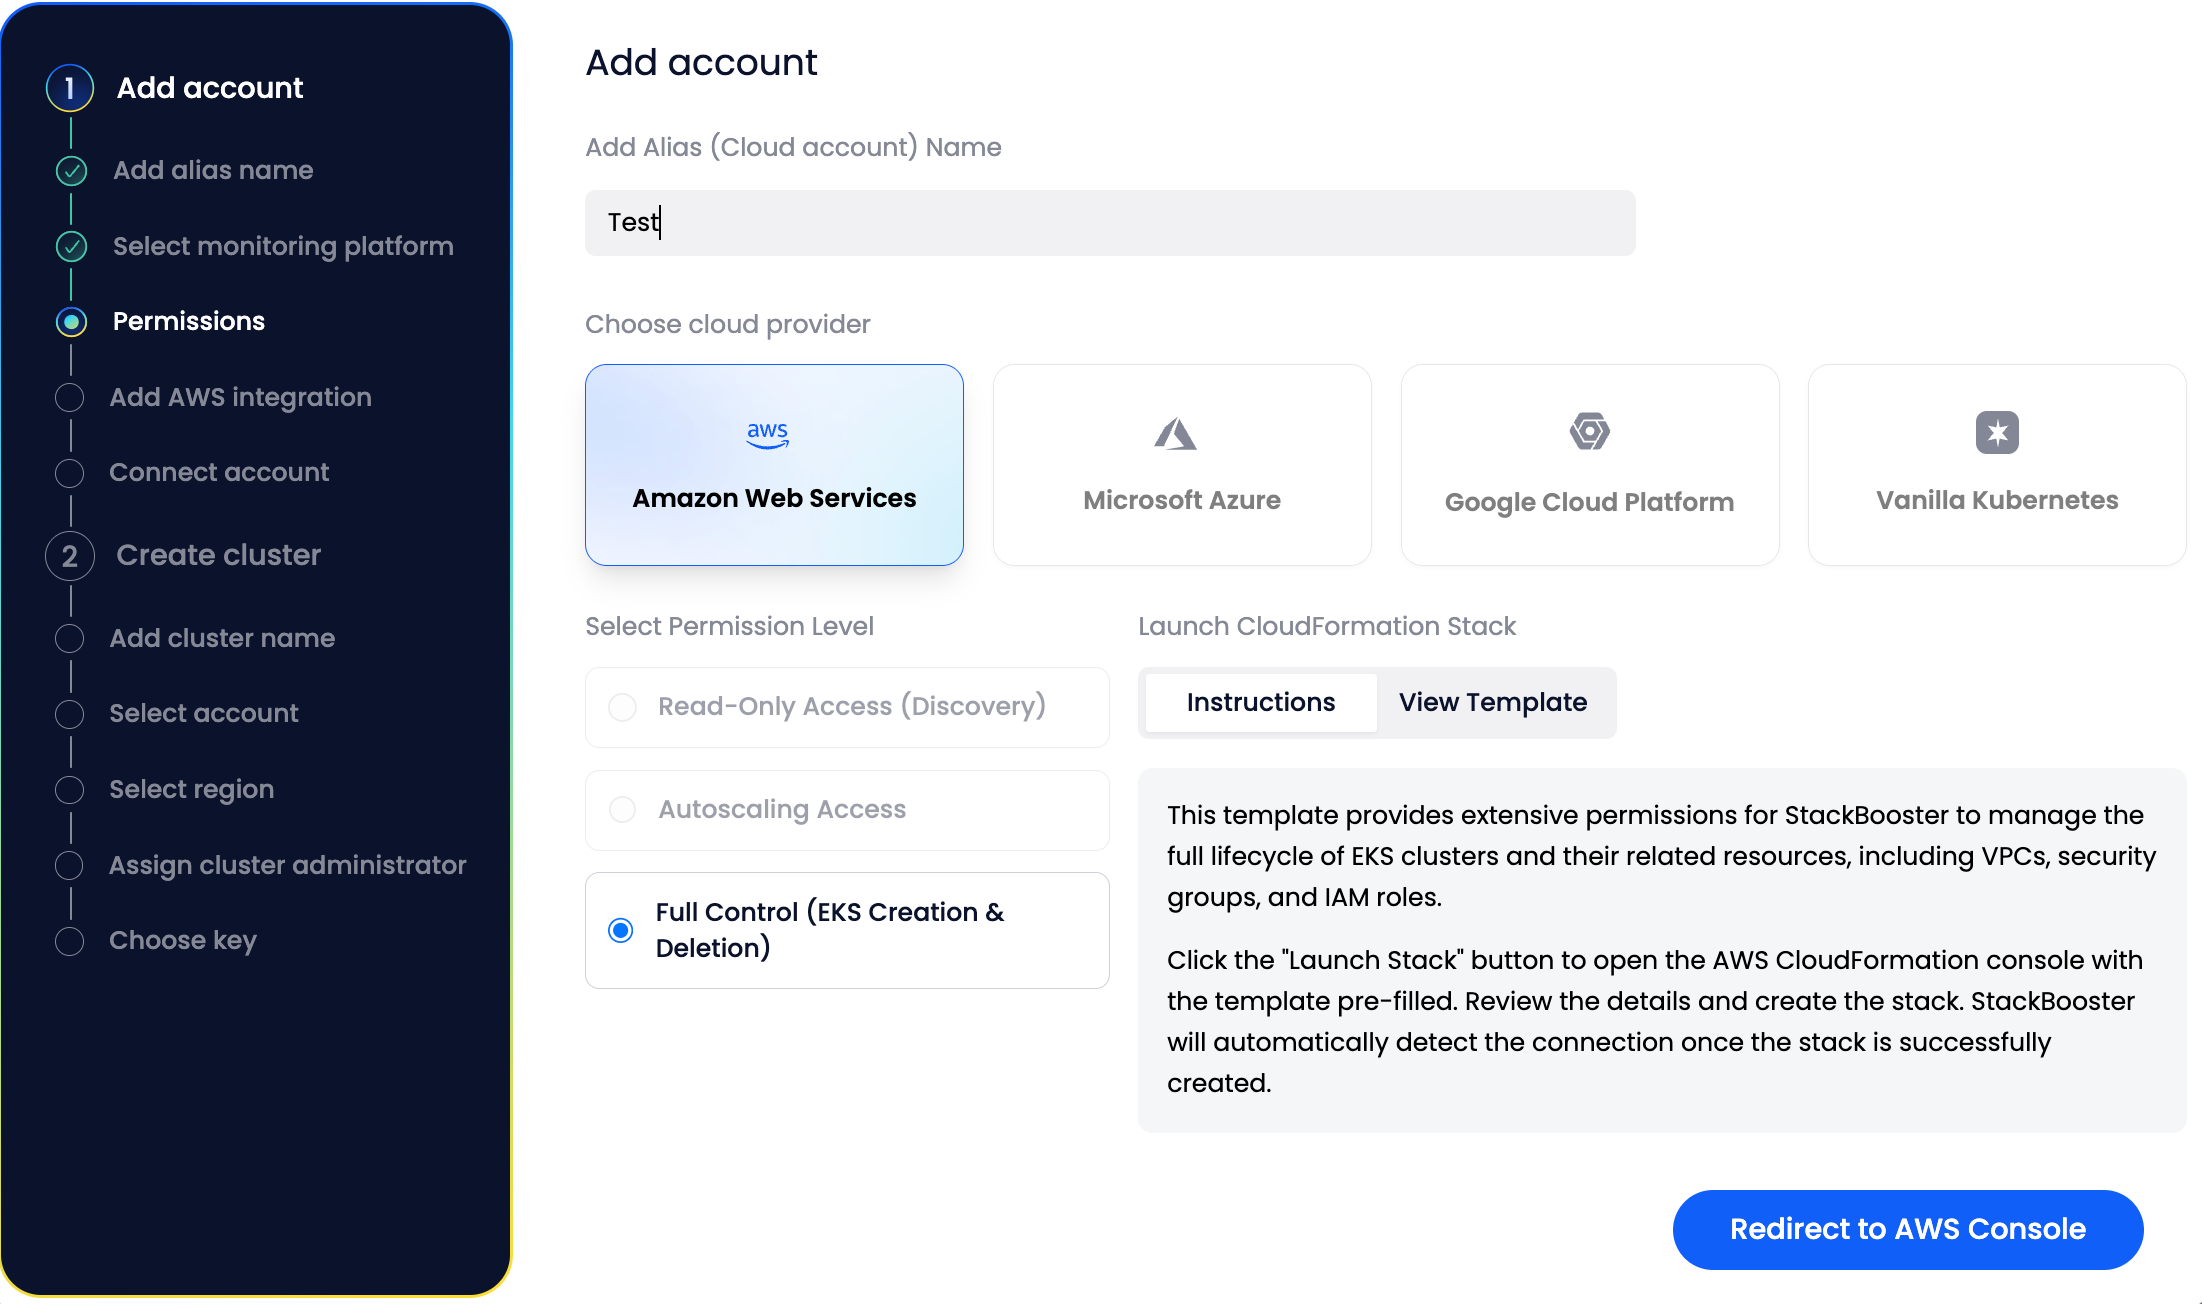
Add Alias Name: Enter a friendly name for your cloud account (e.g.,
development-env-0or your organization name)Choose Cloud Provider: Select Amazon Web Services (AWS)
Permission Configuration #
To create the cluster, you must select the option Full Control (EKS Creation & Deletion)
For AWS accounts, StackBooster provides a single CloudFormation template that grants all required permissions for EKS creation and management.
You can find the full scope of permissions at the link Connect Your AWS Account Guide,
or review the CloudFormation template displayed in UI.
Click the ‘Redirect to AWS Console’ button, which will redirect you to AWS. Make sure you are logged in to the required account first.
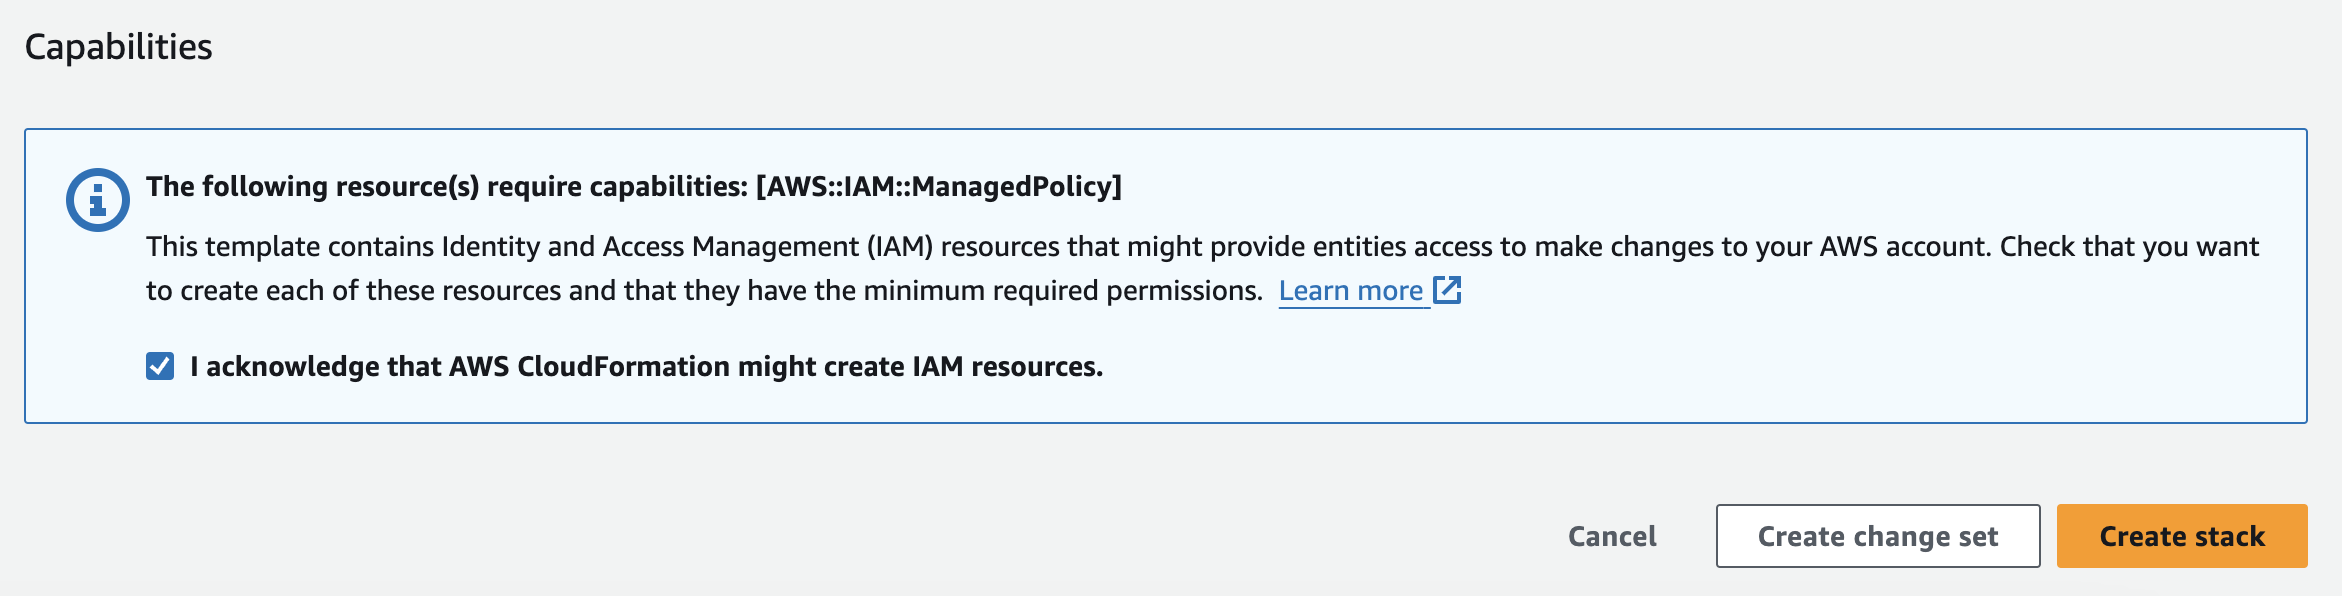
To proceed:
- Review the template details in the AWS console
- Acknowledge that AWS CloudFormation may create IAM resources under Capabilities and press “Create stack”.
- Return to StackBooster once the stack is successfully deployed
Step 2: Create Your Cluster #
Once your cloud account is connected, you can proceed with cluster creation.
Cluster Configuration #
Cluster Name: Enter a descriptive name for your cluster. Use naming conventions that help identify the cluster’s purpose
Select Region: Choose the AWS region where you want to deploy your cluster
Assign Cluster Administrator: Select the IAM user or role that will have administrative access
- What it is / has: IAM role whose ARN is passed to the stack; EKS maps it to K8s cluster-admin (full Kubernetes RBAC). Does not grant broad AWS account access.
- What permissions the role should have:
Trust Policy: allow assumption by your admins (e.g., SSO roles or specific IAM users/roles).
Permissions Policy (minimal):eks:DescribeCluster(scoped to this cluster),eks:ListClusters. - What permissions a user needs to use this role:
Permission tosts:AssumeRoleinto this role (or be the SSO role itself) andeks:DescribeCluster.
Choose Key (Optional): Select an existing EC2 key pair for SSH access to worker nodes
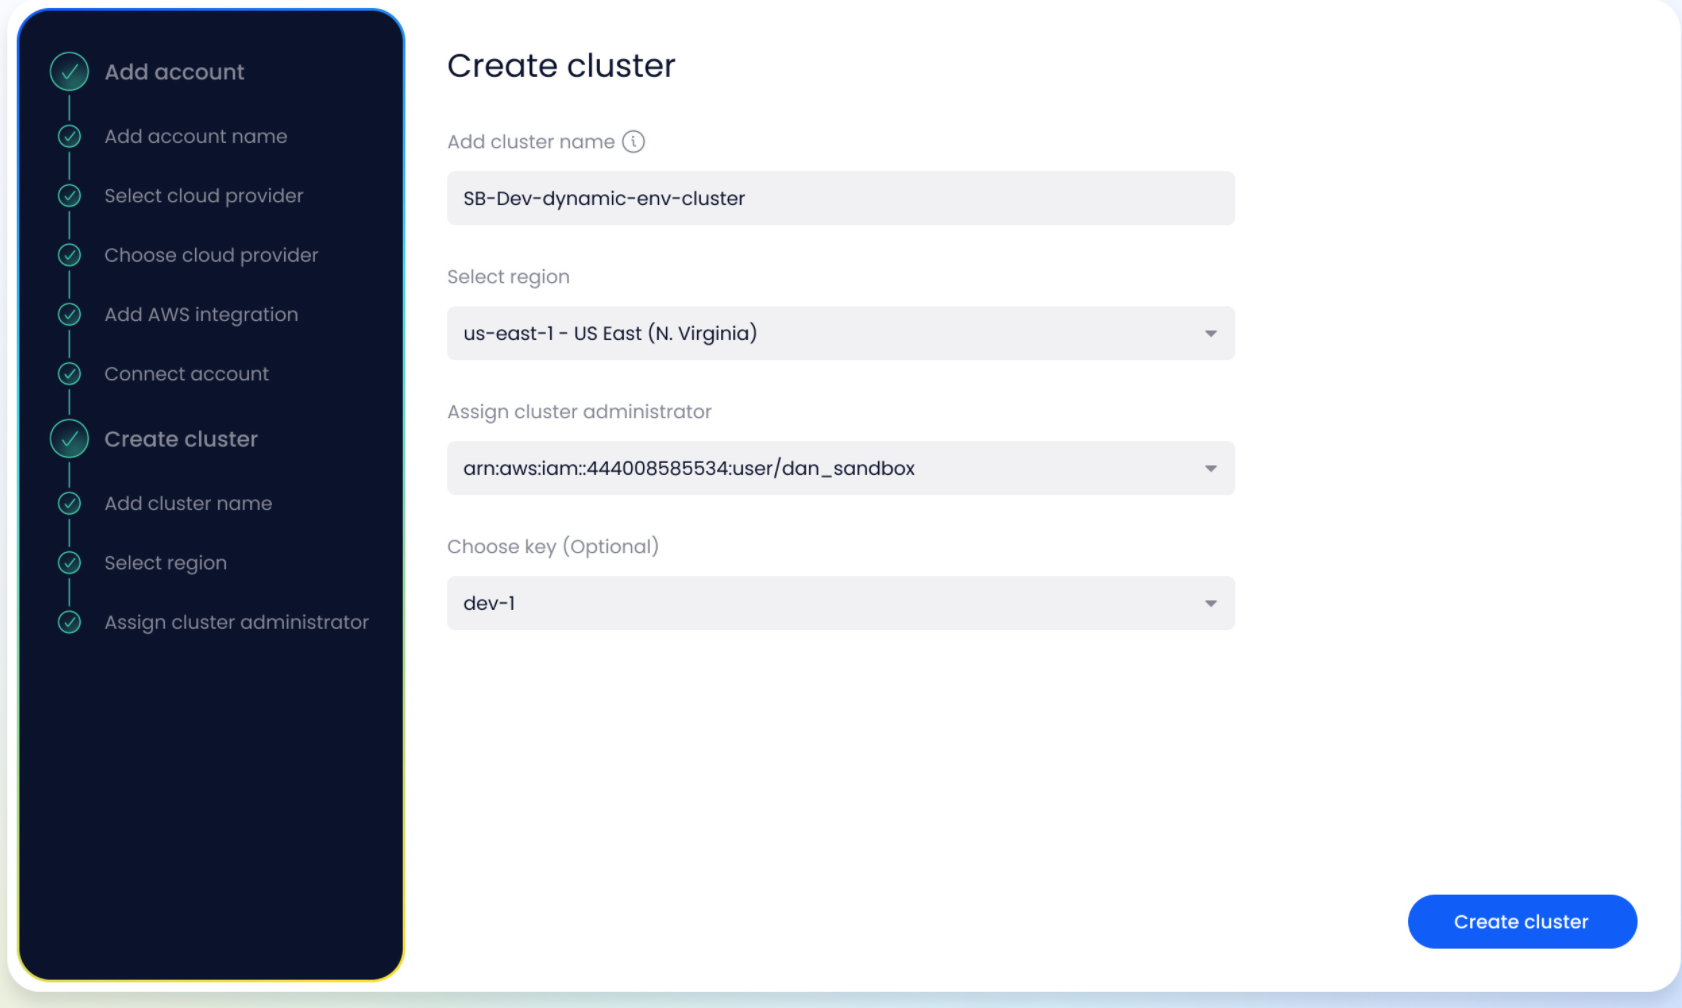
Click the “Create cluster” button to initiate the cluster creation process.
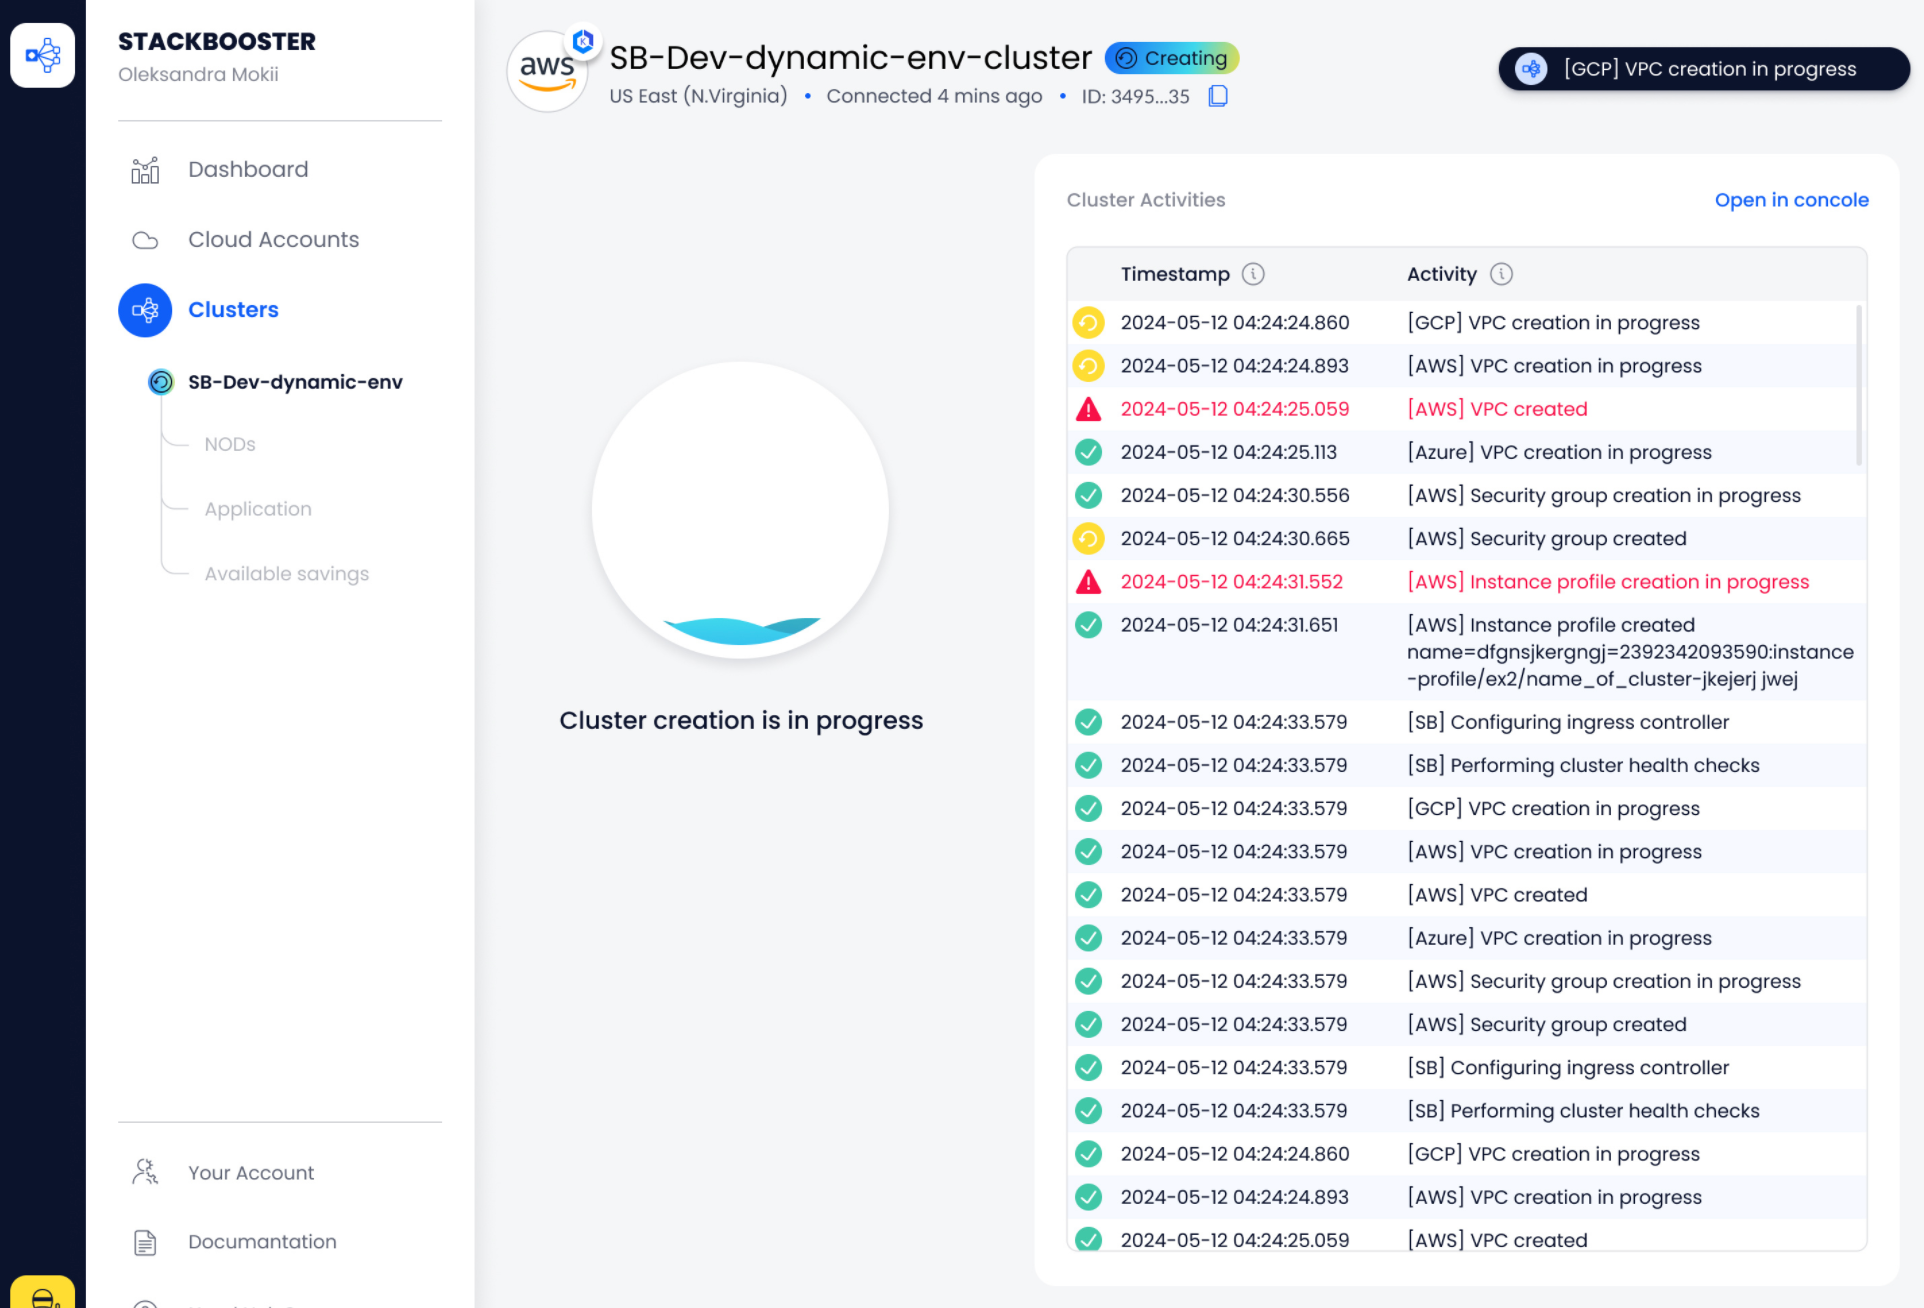
Step 3: Monitor Cluster Creation Progress #
Once you’ve initiated cluster creation, StackBooster provides real-time status updates of the deployment process. The cluster dashboard displays:
- Current Status: Shows “Creating” with a progress indicator
- Connection Details: Region, connection time, and cluster ID
- Real-time Activities: Detailed log of all creation steps
Expected Timeline #
Cluster creation typically takes 20-25 minutes and includes:
- Infrastructure provisioning (VPC, subnets, security groups)
- EKS cluster initialization
- Worker node group creation
- Add-on installation and configuration
- Final health checks and validation
Step 4: Cluster Successfully Created #
Once the creation process is complete, you’ll see a success confirmation.
Success Indicators #
- Status Change: Cluster status changes from “Creating” to “Disconnected”
- Connect Button: “Connect Cluster” button becomes available
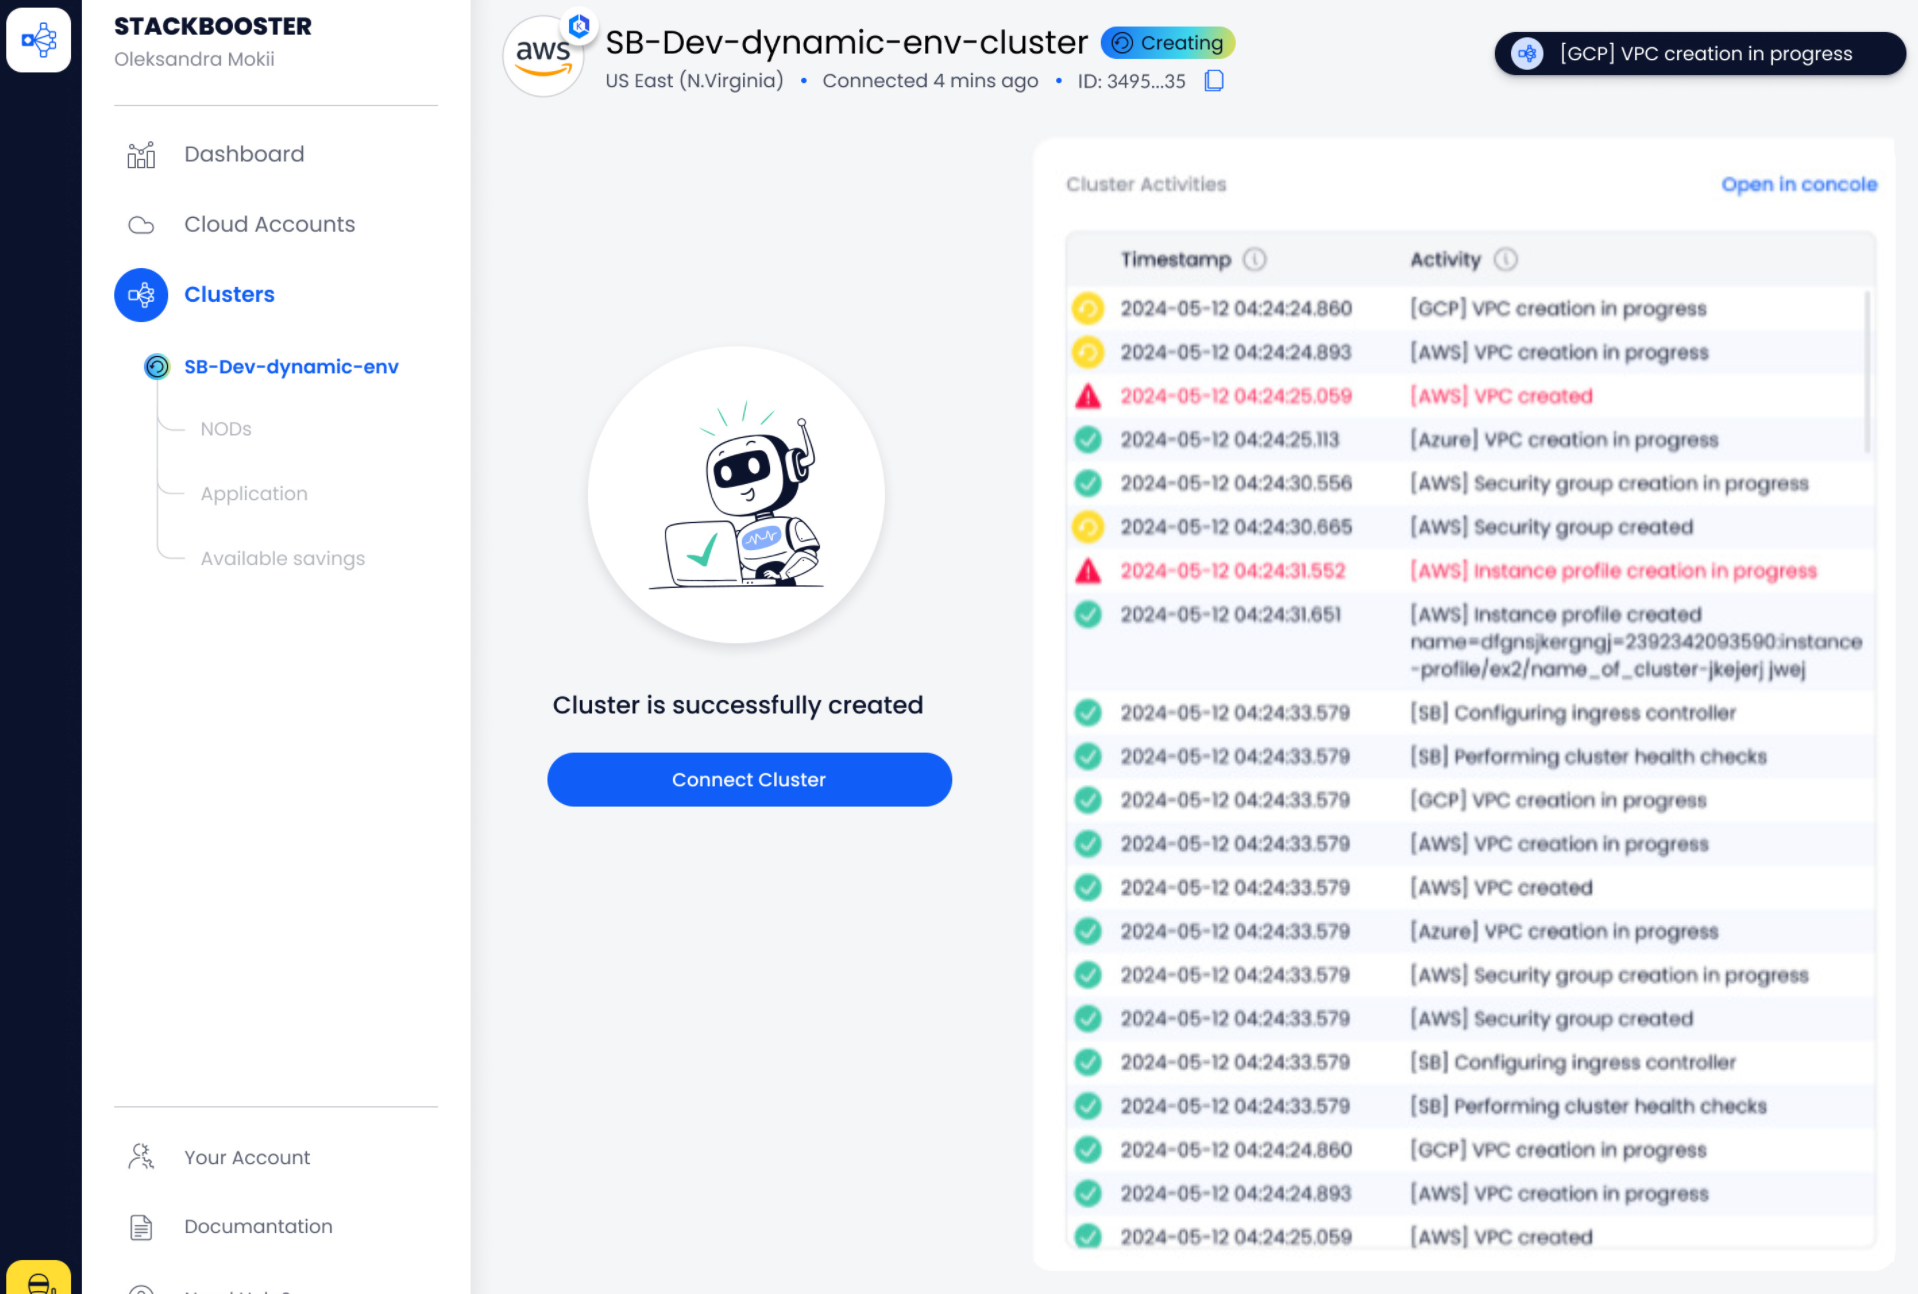
Click the “Connect Cluster” button to proceed to the final step.
Step 5: Connect to Your Cluster #
After clicking “Connect Cluster,” you’ll be presented with the cluster connection setup. StackBooster provides platform-specific connection scripts. A download link for the connection script (macOS/Linux or Windows) will be provided. Download this script to your workstation.
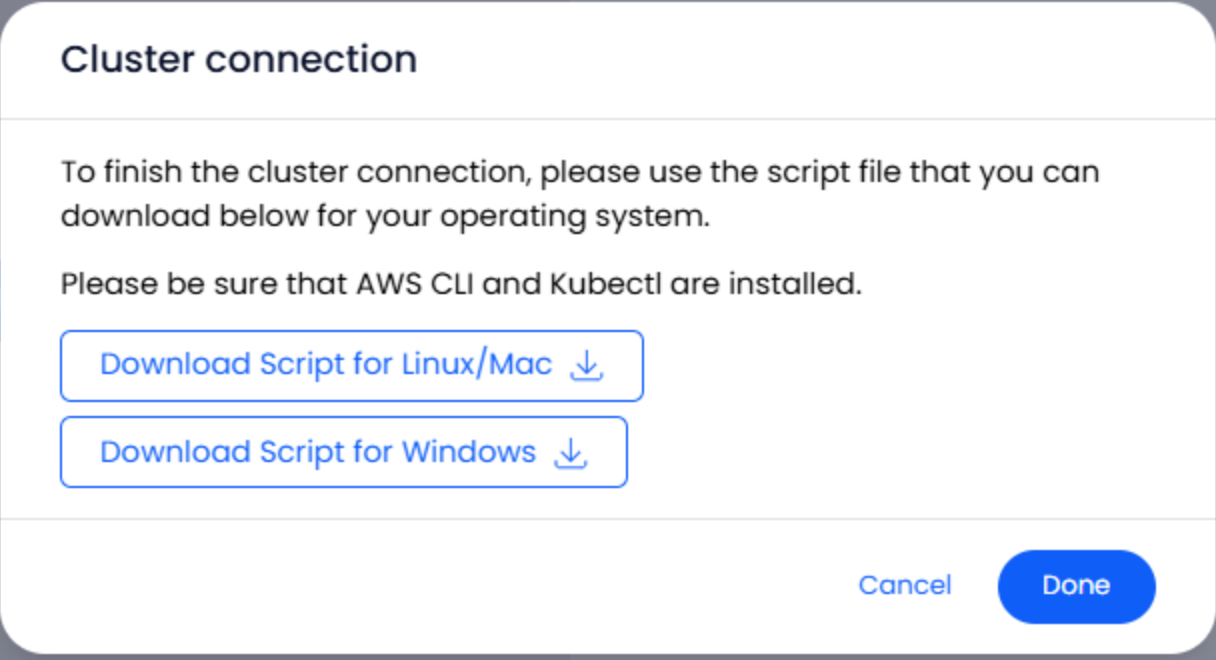
Prerequisites #
Before proceeding, ensure you have the following tools installed on your local machine:
- AWS CLI - For AWS authentication and configuration
- kubectl - Kubernetes command-line tool for cluster management
- helm - Popular package manager for Kubernetes.
Run the script
- macOS/Linux:
chmod +x connect_cluster_command.sh && ./connect_cluster_command.sh - Windows (PowerShell or Command Prompt):
connect_cluster_command.bat
Script prompts:
- AWS CLI Profile: Provide the AWS profile name or press Enter to use
default. Make sure you are logged in to your aws account via aws cli. - Role ARN: If needed, specify an IAM role ARN to assume; otherwise, press Enter to skip.
- Cluster Configuration: The script runs
aws eks update-kubeconfigto configure your localkubeconfigfile. - Install Agents: The script uses Helm to install the StackBooster agents:
- Completion: The script will pause at the end so that you can review the output.
Verification #
After running the connection script, you can verify your cluster connection by running:
kubectl get nodes
This should display the worker nodes in your newly created cluster.
Next Steps #
After successful connection, you can:
- Deploy Applications: Start deploying your applications to the new cluster
- Monitor Performance: Use StackBooster’s monitoring tools to track cluster health and performance
- Optimize Costs: Leverage AI-powered recommendations for cost optimization
Additional Resources #
- Cluster Activities: Complete audit trail of all cluster operations
- Configure Custom Node Templates: Configure node templates for optimal resource allocation, custom restrictions and cost efficiency
- Documentation: Access to comprehensive guides and best practices
Support #
If you encounter any issues during cluster creation:
- Check the Events log for detailed info
- Visit our Documentation section for troubleshooting guides
- Use the Need Help? feature for additional support
- Contact our support team through the platform